Hair & Hair Textures
Hair is one of the most important item types - in life and in game, the way we style hair is one of our biggest defining features. Folks in our community often love big, flowing, hair with lots of personality, and something that can mix well with other hairs.
When it comes to making hair, everyone approaches it a little differently. There’s a few ways to break down the process:
Step-by-step hair concept
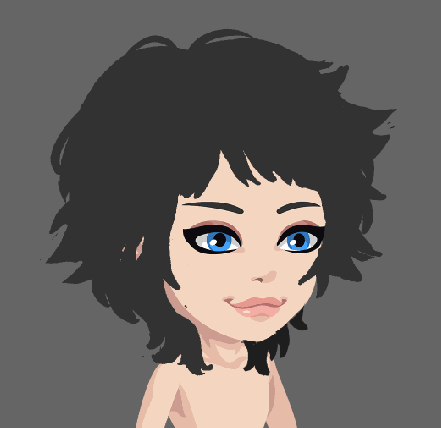
- Start with the shape of the hair using your second darkest color. Make sure the shape reads well.
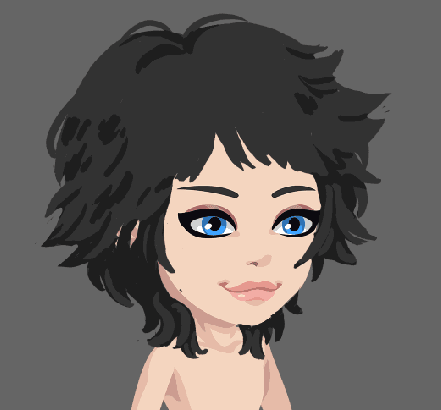
- Then pop in the darkest color to define the shadows in the hair. Try not to use much on the bangs since it’s closest to the viewer and should be lighter in color.
- Add a lighter shade on top to define more shapes and make the hair more fluffy.
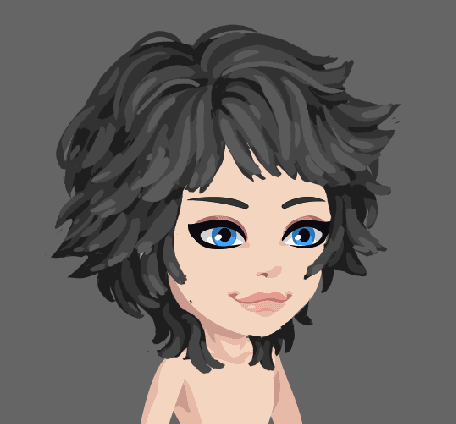
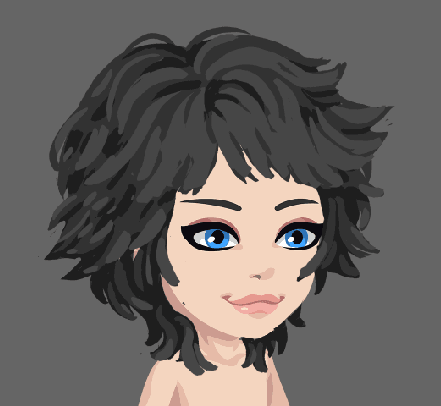
- Start adding in smaller pieces and strands.
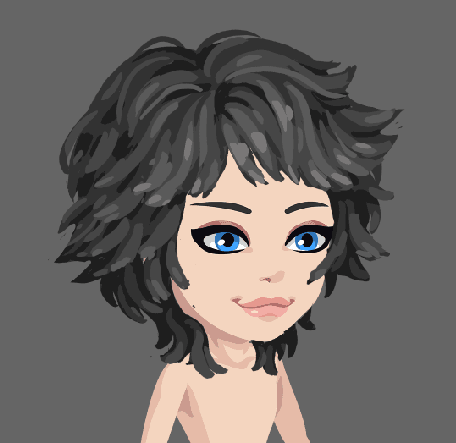
- Then add in a few pops of highlight! I also like defining some of the ends of the hairs!
For the base shape of the hair, split it into 3 shades.

Dyed Hair
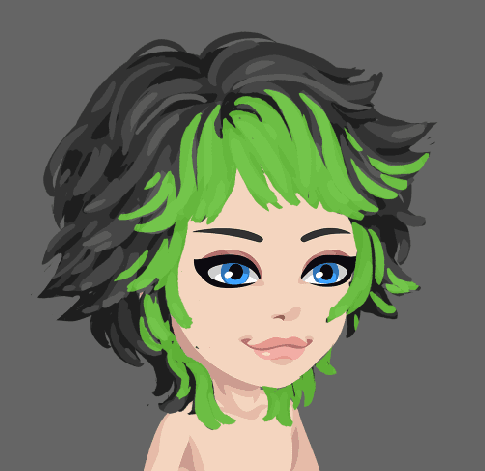
- Block in that first layer and turn the opacity down if you want it to be a more natural looking gradient
- Fill in some fuller opacity shapes in the same color. I copied many of the details of the hair below and pasted them on top in the green color.
- Pop in a lighter color for shine. I also cut away some of the first green layer to add more depth.
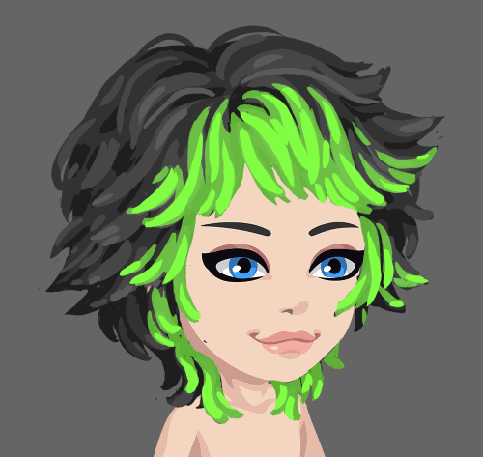
Examples of ombre and dyed hair layered with opacities
For creating an ombre effect, (Whisk Me Away & Sweet Mama it helps to use white at low opacities (5-10% for transitions, 20% for highlight details) to create more transitions and highlights, as well as black and the darkest hair shade at low opacities (5-20%) to create more transitions for the darkest parts of the hair.
It helps to have 2-3 layers of opacities before 100% opacity of the designated color to create a smooth transition for an ombre effect (i.e. Pastelle Lavender Dip Curls and Magic Punisher)
Extremely dark shades of purple at low opacities can be used on top of gradient hair to create strands/details (i.e. Executor of Fate)
Hairstyles and Textures
There are many different hair textures and styles, and there are different ways to approach each one in our style. Here’s a guide to some that you can look at for reference!
Afros
Tips
- Add a low opacity layer of hair around edges of silhouette for a puffier fro
Curly and Coily
Tips
- Try using the brush tool for coils
Locs and Twists
Smooth - Straight & Wavy
Braids
Tips
- Draw the shape of the braids out first. Don’t worry about detail until you like the silhouette
Hair Buns
Buzzed/Fade
Things to avoid
Too much detail

Too little detail
Too much or too little highlight
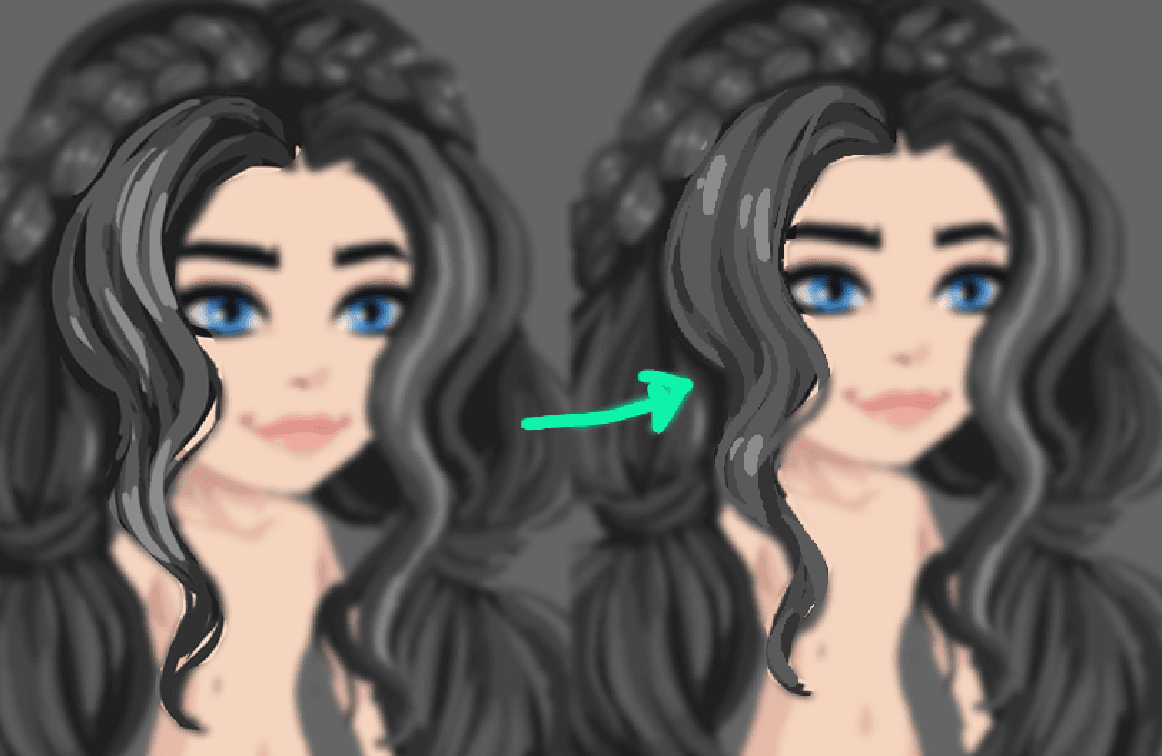
- Use only a small amount, or none, of the darkest shade in the bangs
- Same with highlight: too much highlight creates a wet hair look
- Too little highlight doesn't have the same visual impact