Windows Python SDK Setup
This tutorial will guide you step-by-step, from installing the Python development environment, the SDK and its dependencies, to launching your first Highrise bot on a Windows machine.
We encourage you to follow along with the video tutorial to ensure a successful setup; the written instructions are also below. Your journey into Highrise bot development starts here.
Step 1: Installing Python
- Go to the official Python website: Python.org.
- Navigate to the
Downloadsmenu and selectWindows. - Download Python version 3.11, which is currently recommended for the Highrise Python SDK. (as of May 2023)
- Once downloaded, execute the installer.
- During installation, ensure to tick the box that adds Python to your system PATH. This makes Python accessible from any location in the command prompt.
- Choose
Install Nowand wait until the installation process completes.
Step 2: Setting Up the Highrise Python SDK
-
Open the command prompt and navigate to the directory where you plan to develop your Highrise bot. It's recommended to create a dedicated folder for this project.
-
Open the directory with your preferred code editor (e.g., Visual Studio Code).
-
Create a virtual environment in your project directory. Virtual environments allow you to isolate your Python setup on a per-project basis. To create a virtual environment, type the following command in your command prompt:
python -m venv .venv -
To activate the virtual environment, enter:
.venv\Scripts\activateThe command prompt should now show the name of the virtual environment, indicating that it's active.
-
Install the Highrise Python SDK. Replace
24.1.0with the latest version, which can be found on the Highrise Create Portal:pip install highrise-bot-sdk==24.1.0
Step 3: Creating Your Bot
- For this tutorial, we will use the Echo bot example provided in the Highrise documentation. The Echo bot echoes events occurring in a Highrise room to the command line.
- Create a new file in your project directory, named
echo.py. - Copy the Echo bot code from the Highrise documentation into your
echo.pyfile.
Step 4: Retrieving Your API Token and Room ID
- To run the bot, you'll need your Highrise API token and the Room ID.
- You can obtain the API token from your account on the Highrise Create Portal, under Dashboard, and Credentials.
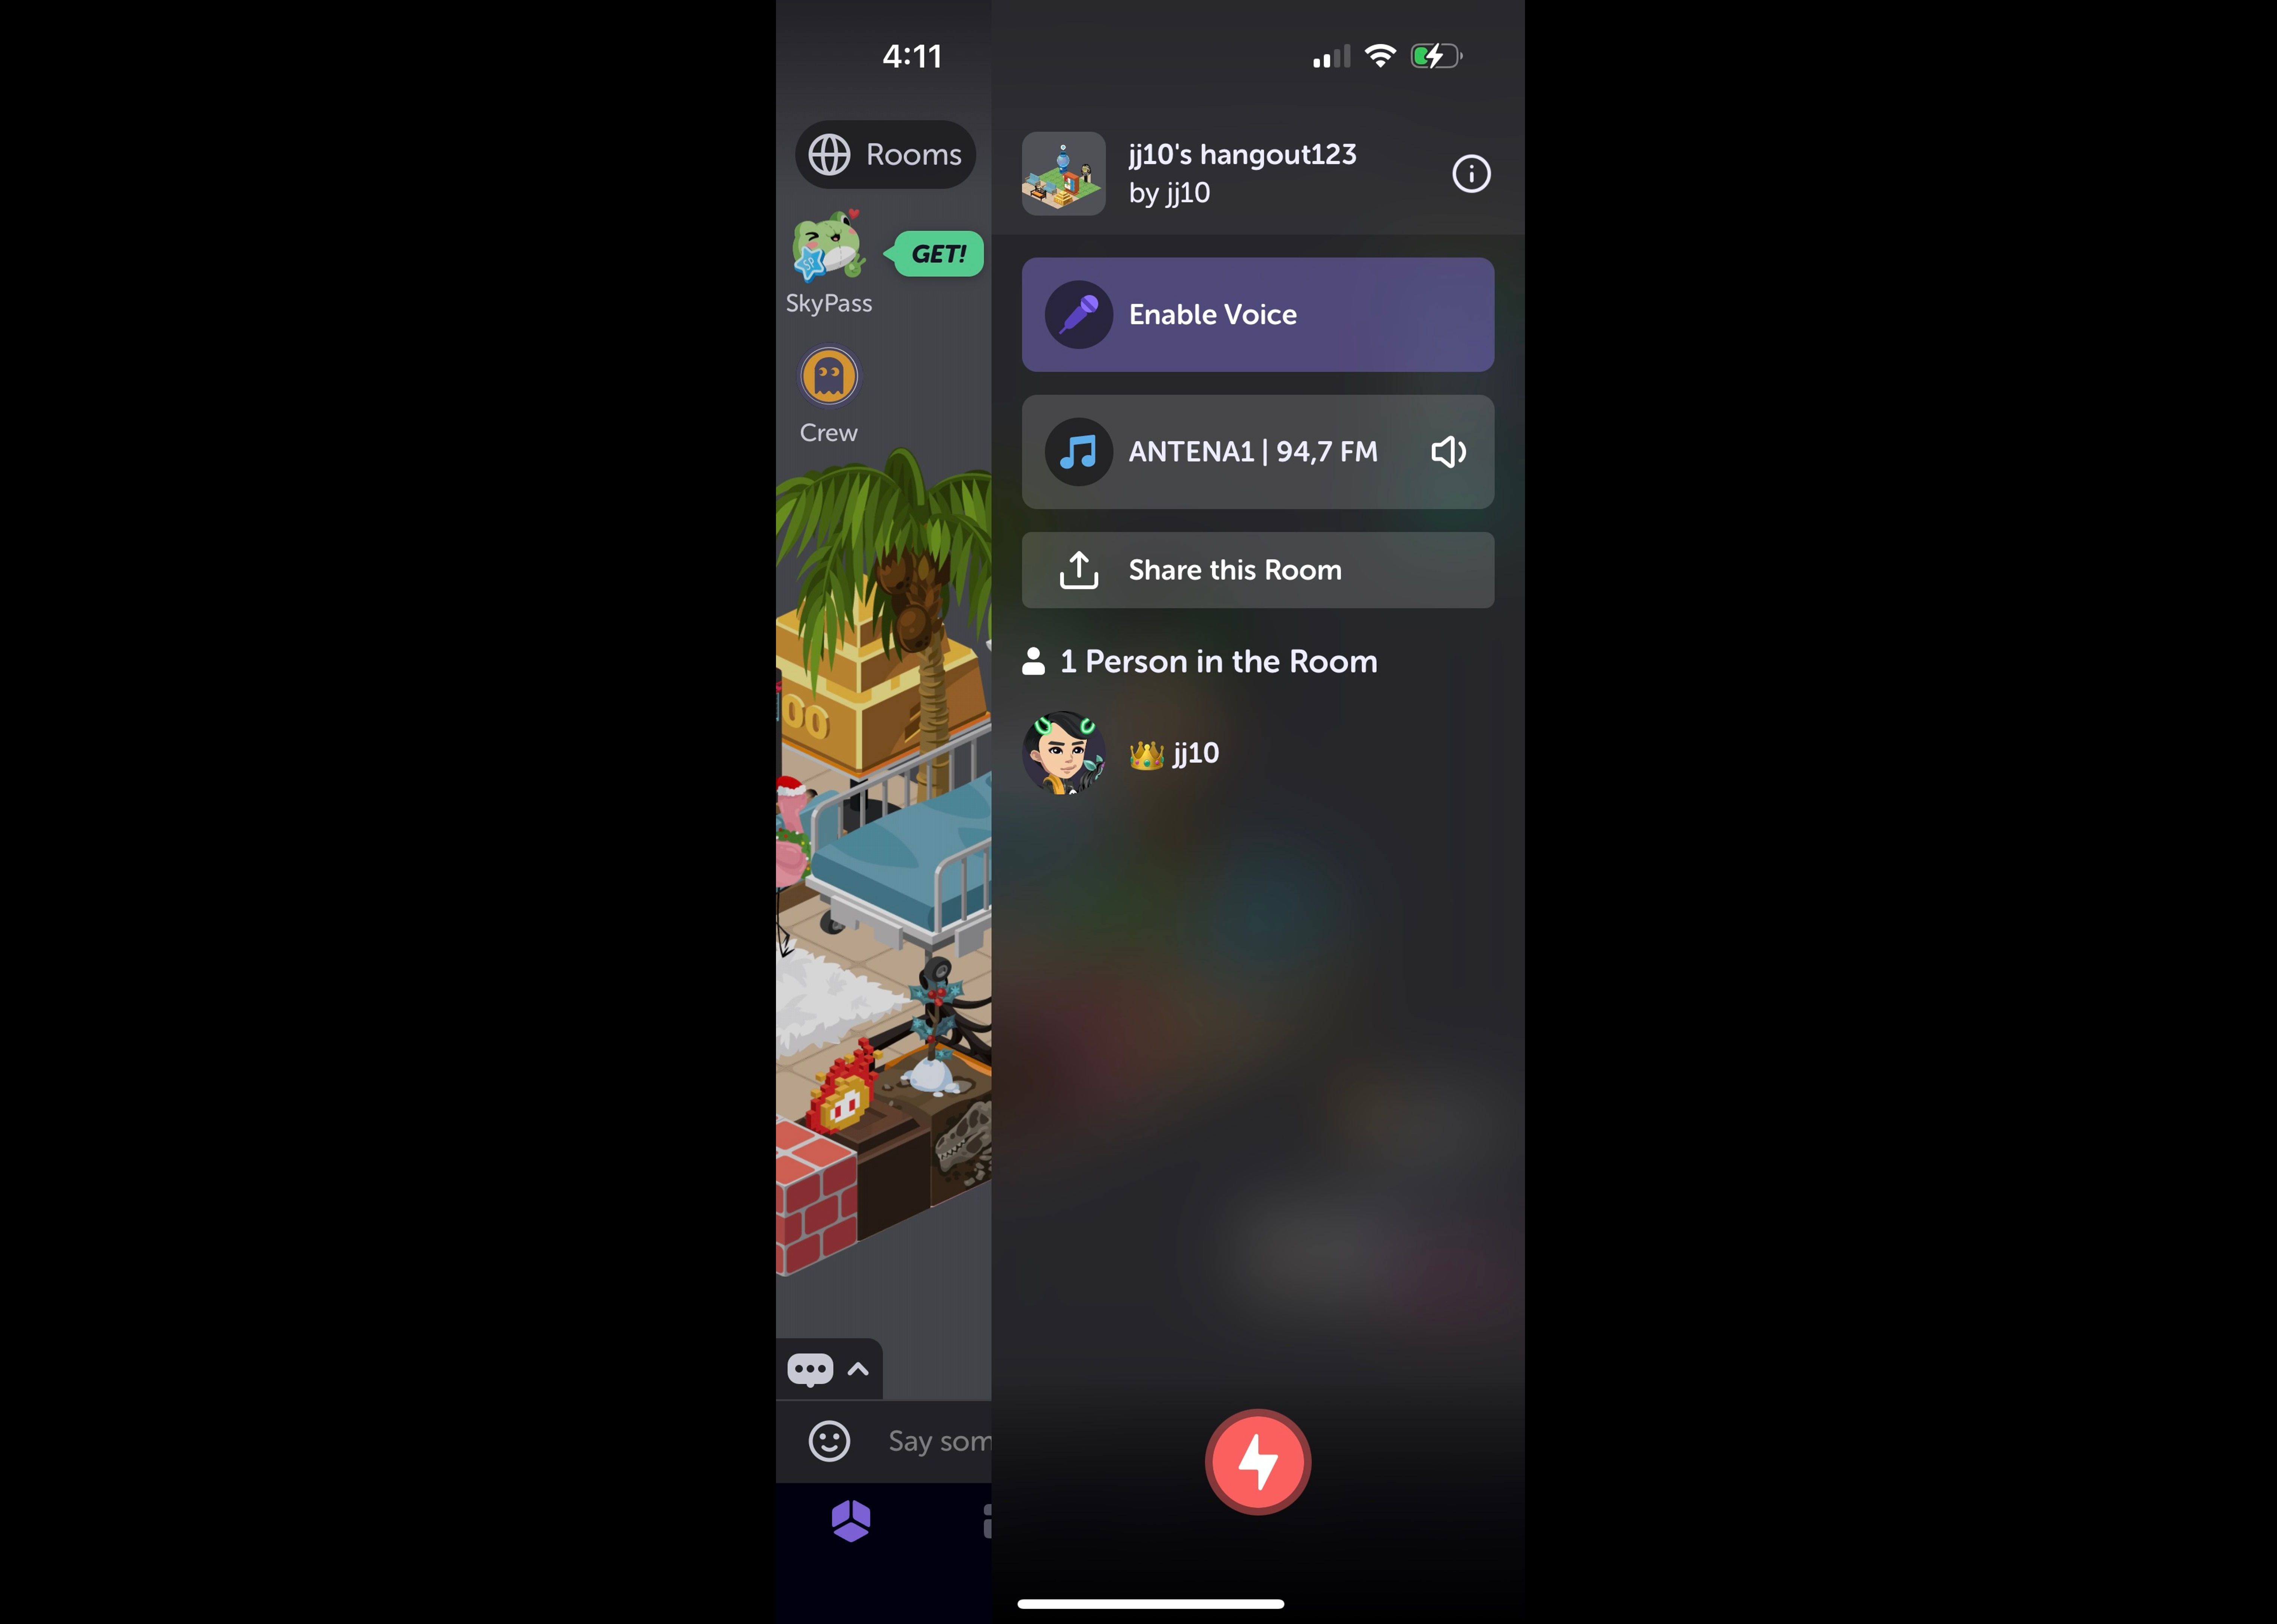
- The Room ID is accessible within the Highrise app. Navigate to the room and click on the
Share this roombutton in the info panel
Step 5: Running Your Bot
-
With the API token and Room ID in hand, you're ready to run your Echo bot. Use the following command, replacing
<filename>,<class_name>,<room_id>and<api_token>with your file name, the class that implements the Highrise Basebot, and your actual Room ID and API token:highrise <filename>:<class_name> <room_id> <api_token>
That's it! Your Echo bot is now active in your chosen Highrise room, and will echo events it perceives to your command line.

